Ghostty + uv
A brief homage to two new-ish dev tools.
I recently transitioned my Python workflow to uv, and I’ve been using it alongside Ghostty. As a terminal emulator, Ghostty isn’t restricted to use on Python projects, but I happen to be focusing on Python at the moment (with a regular dose of Rust and Go thrown in for good measure). In any case, I’ve found the combination quite delightful1, so here’s a bit about getting started with each.
Please meet Ghostty and uv…
![]()
Ghostty is a terminal emulator that’s blazing fast and works straight out of the box.
uv is a Python version + environment manager that’s slick and, yes, it’s blazing fast, too.
Ghostty in the machine
I’m not obsessive about my terminal emulator and this is the first one I’ve felt compelled to celebrate. For me, the best terminal emulator is one that gets out of the way and doesn’t distract from coding, testing, and debugging. Ghostty does that without compromising essential application features, like tabs and in-terminal screen split.
Written in Zig, Ghostty is fast in a way that feels instantaneous. It’s zippy executing commands and scripts, and completes updates in the blink of an eye.
The other thing that I appreciated a ton is the default settings out of the box; they’re so satisfying. I actually don’t want to fuss with my terminal set up much, so this counts for a lot. The low friction experience makes it almost unbelievably painless to try out.
If you’re into terminals more generally, check out Ghostty’s About page for details on the balance Ghostty strikes between fast, feature-rich, and native to make it unique among emulators.
0. install Ghostty
for macOS, using Homebrew:
brew install --cask ghostty
1. open & use!
Open Ghostty as you would any other app. Ghostty has a zero-configuration philosophy and is genuinely ready to use directly after downloading.
To tweak config a bit (or a lot), the Ghostty docs are readable and easy to follow. Basically, put your customizations in the text-based config file; here’s where you can find the config file location for your system. For macOS, it’s located at $HOME/Library/Application\ Support/com.mitchellh.ghostty/config.
Frequency shift to uv
uv obliterates the anxiety Python programmers frequently experience when cobbling together the necessary bits and pieces to support version and environment management, whether for a project or to run a third-party script - or just any Python script, really. It covers all the bases and it is zippy (thanks, Rust!).
Basically, install uv and you’re good to go. Steps 1, 4, and 5 below are all you need to run scripts. The full list will get you set up for managing python versions and working with python projects in virtual environments using uv init and uv sync.
0. inspect the install script
curl -LsSf https://astral.sh/uv/install.sh | less
1. install uv
curl -LsSf https://astral.sh/uv/install.sh | sh
install a specific version
curl -LsSf https://astral.sh/uv/0.6.1/install.sh | sh
wget instead of curl
wget -qO- https://astral.sh/uv/install.sh | sh
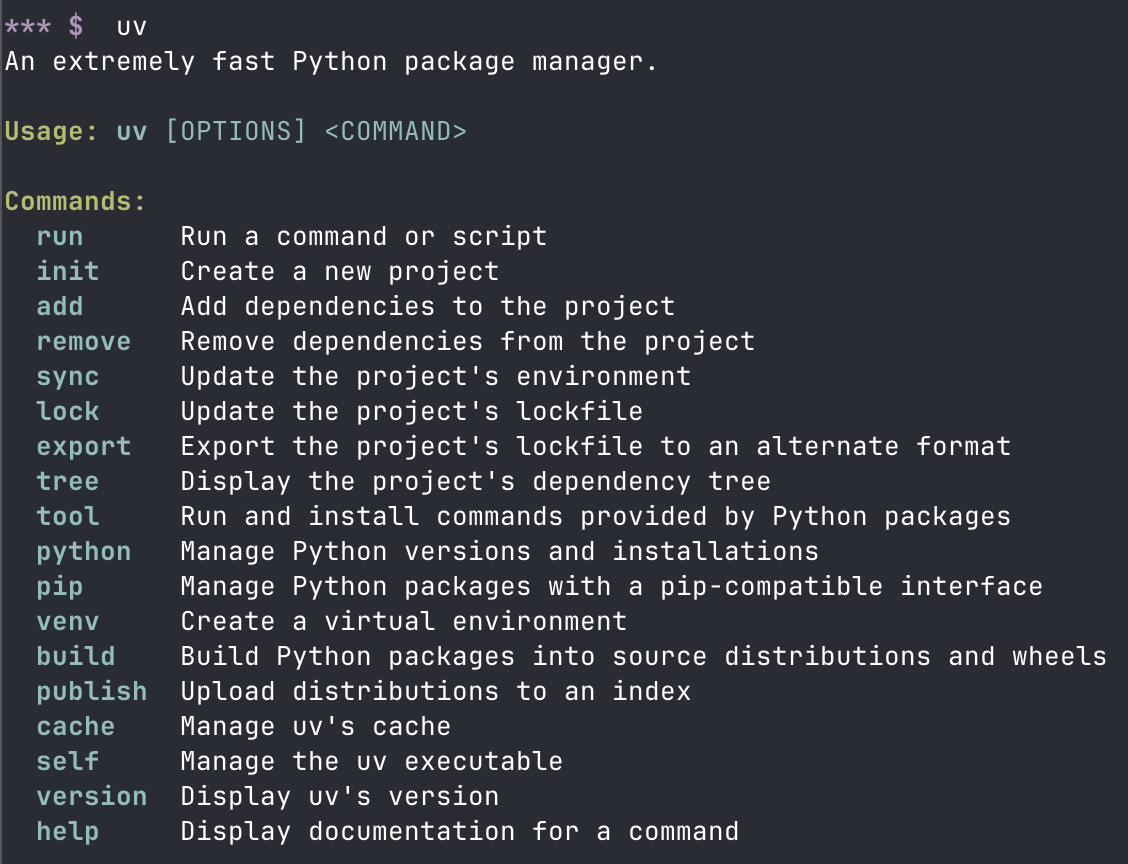
2. check that uv is running
uv
result:

3. set up shell autocompletion
- shell autocompletion enables suggestions for commands, options, paths, filenames when you start typing, tab to autofill.
echo 'eval "$(uv generate-shell-completion bash)"' >> ~/.bashrc
4. install python
Defaults to latest, or specify a version.
uv python install
uv python install 3.10
5. run a script
uv run script-name.py
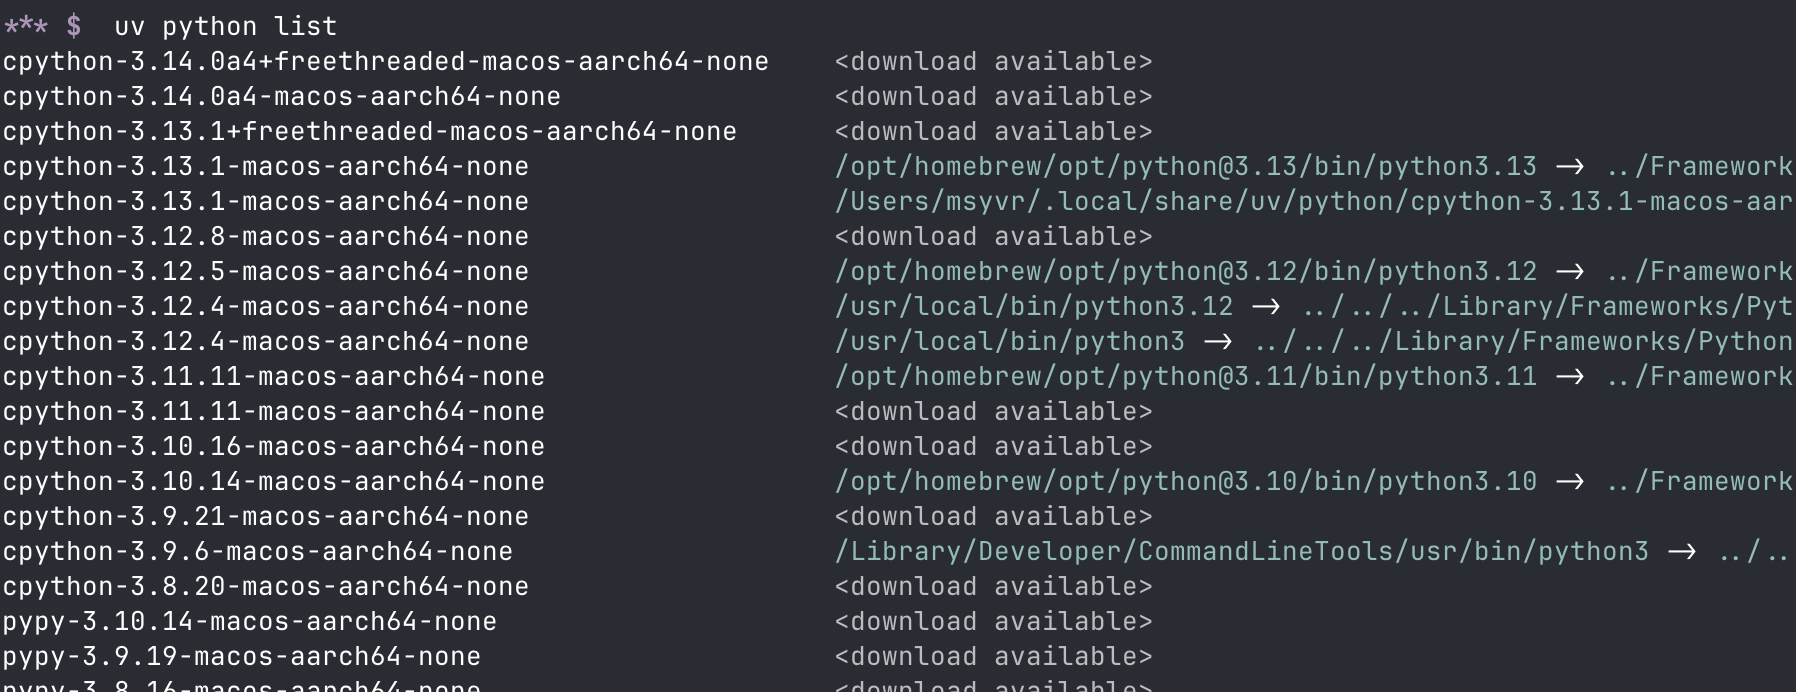
6. list installed and available python versions
uv python list
result:

7. isolated virtual environments
Set up and activate a new uv-managed virtual environment.
uv venv --python 3.11
source .venv/bin/activate
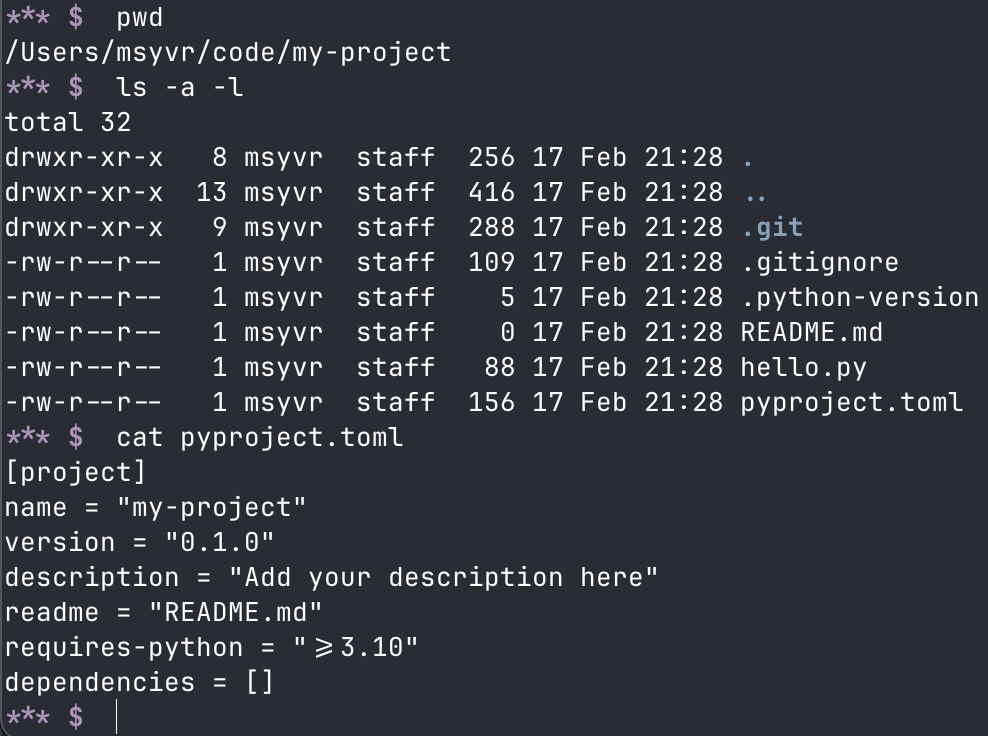
8. project scaffolding
Initialize a python project using a specific version. And, yes, it is like Cargo for Python.
uv init my-project --python 3.10
cd my-project
ls -a -l
result:

9. manage dependencies
Use pip to install dependencies into the virtual environment.
uv pip install dependency-name-opt-version
Alternately, just add project dependencies.
uv add dependency-name-opt-version
Both of the above will add the dependency to pyproject.toml and, if the dependency is added manually to pyproject.toml instead, then the following needs to be run to actually install the dependency into the environment:
uv sync
10. working with jupyter notebooks in uv
Make sure jupyter notebook has a uv install:
uv pip install notebook
Next, give your uv project a dedicated python kernel. This keeps any project-level installed packages isolated within the project environment.
If you haven’t already set up ipykernel as a dev dependency, do that first (this needs to be done only once, or if your dev env needs refreshing):
uv add --dev ipykernel
Now, run the following on a per project basis:
uv run ipython kernel install --user --env VIRTUAL_ENV $(pwd)/.venv --name=<project>
Once a uv project is set up with its own python kernel, the following runs it in a browser notebook:
uv run --with jupyter jupyter lab
By default, the running notebook is now accessible via your browser at http://localhost:8888/lab.
-
Please enjoy a sample of Deee-lite doing their delightful thing.
↩︎
